How to Clean a Dryer: A Step-by-Step Guide

A clean dryer isn’t just about keeping your clothes fresh—it’s about boosting efficiency and ensuring safety for your home. Over time, dryers accumulate lint, dust, and debris, leading to slower drying times, higher energy bills, and an increased risk of fire hazards.
In fact, a clogged dryer vent is one of the leading causes of dryer-related fires. By cleaning your dryer regularly, you not only prevent these dangers but also extend the lifespan of your appliance.
In this guide, we’ll walk you through the essential steps for cleaning your dryer, from the lint trap to the vent, ensuring it works at its peak performance. With just a few simple tools and maintenance steps, you can keep your dryer in top shape while saving energy and money.
Why It’s Important to Clean Your Dryer Regularly
Cleaning your dryer regularly is essential for several reasons. First, a clogged dryer can take longer to dry clothes, leading to higher energy consumption. Second, lint buildup is one of the leading causes of dryer fires. Keeping the appliance clean minimizes these risks. Lastly, regular maintenance extends the lifespan of your dryer, saving you money on repairs and replacements.
Ignoring dryer maintenance can lead to issues such as overheating, unpleasant odors, or even a complete breakdown. Simple cleaning steps can prevent these problems and keep your dryer running smoothly.
Tools You’ll Need to Clean a Dryer
Before diving into the cleaning process, gather the necessary tools. Having everything ready makes the job quicker and more efficient.
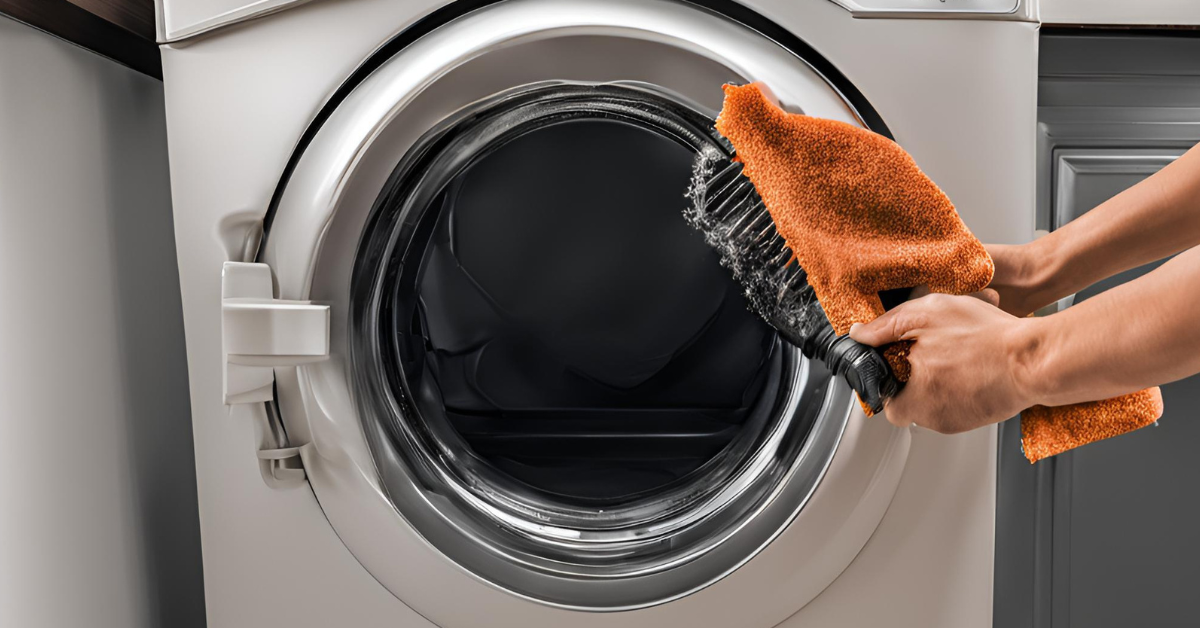
- Soft brush or lint brush: To clean the lint trap and other parts.
- Vacuum cleaner with a hose attachment: For removing lint and debris.
- Screwdriver: If you need to open any panels.
- Dryer vent cleaning kit: Helpful for reaching deep into the vent.
- Microfiber cloth: For wiping down surfaces.
- Mild detergent: To clean the exterior of the dryer.
These tools are easy to find and make the cleaning process more effective.
How to Clean a Dryer Lint Trap
The lint trap is the first place to start when cleaning your dryer. This component collects lint from your clothes during the drying process, and cleaning it regularly ensures better airflow.
- Remove the lint trap: Pull it out gently from its slot.
- Clear the lint: Use your hands or a soft brush to remove all visible lint.
- Wash the lint trap: Rinse it under warm water and scrub with a mild detergent to remove residue. Let it dry completely before reinserting.
- Clean the slot: Use a vacuum hose or a narrow brush to remove lint from the slot where the trap sits.
Cleaning the lint trap after every load is a simple yet effective habit to adopt.
How to Clean a Dryer Vent Like a Pro
The dryer vent is a critical part of the appliance that often gets overlooked. A clogged vent can cause overheating and reduce efficiency.
- Unplug the dryer: Always disconnect the dryer from the power source to ensure safety.
- Locate the vent: Identify where the vent connects to the dryer and the wall.
- Detach the vent hose: Use a screwdriver if needed to loosen the clamps holding the vent in place.
- Clean the vent hose: Insert a vent brush or use a vacuum to remove lint and debris from the hose. For deeper cleaning, use a dryer vent cleaning kit.
- Inspect the exterior vent: Check where the vent exits your home. Clear away any lint or obstructions.
- Reattach the hose: Secure the vent hose back into place and ensure the connections are tight.
Regularly cleaning the dryer vent can significantly improve drying efficiency and reduce the risk of fires.
Signs Your Dryer Vent Needs Immediate Cleaning
It’s not always easy to tell when your dryer vent needs attention. However, these warning signs indicate it’s time for a thorough cleaning:
- Clothes take longer to dry than usual.
- The dryer feels hotter than normal to the touch.
- There’s a burning smell while the dryer is running.
- The vent flap on the exterior of your home doesn’t open properly.
- You notice excessive lint buildup around the vent or inside the dryer.
Addressing these issues promptly can prevent more significant problems down the road.
Common Mistakes to Avoid When Cleaning a Dryer
Even with good intentions, mistakes can happen during dryer maintenance. Here are some common errors to avoid:
- Skipping the lint trap cleaning: Neglecting this step can lead to reduced airflow and increased energy use.
- Forgetting to unplug the dryer: Always disconnect the power to avoid accidents.
- Using the wrong tools: Stick to soft brushes and vacuums to avoid damaging dryer components.
- Ignoring the exterior vent: The outside vent is just as important as the interior components.
- Overlooking professional help: If the vent is too clogged or inaccessible, consider hiring a professional.
Being mindful of these mistakes ensures safe and efficient cleaning.
FAQs About How to Clean a Dryer
Conclusion
Regular dryer maintenance is not just about preserving your appliance—it’s a proactive step towards ensuring the safety and efficiency of your home.
By following the simple yet effective cleaning steps outlined in this guide, you can significantly reduce the risk of fire hazards, enhance your dryer’s performance, and lower your energy consumption. Don’t wait until issues arise; make dryer cleaning a regular part of your home care routine.
With a little effort, you’ll ensure that your dryer runs smoothly for years to come, keeping both your clothes and your home safe.


